(Soure: Pexels)
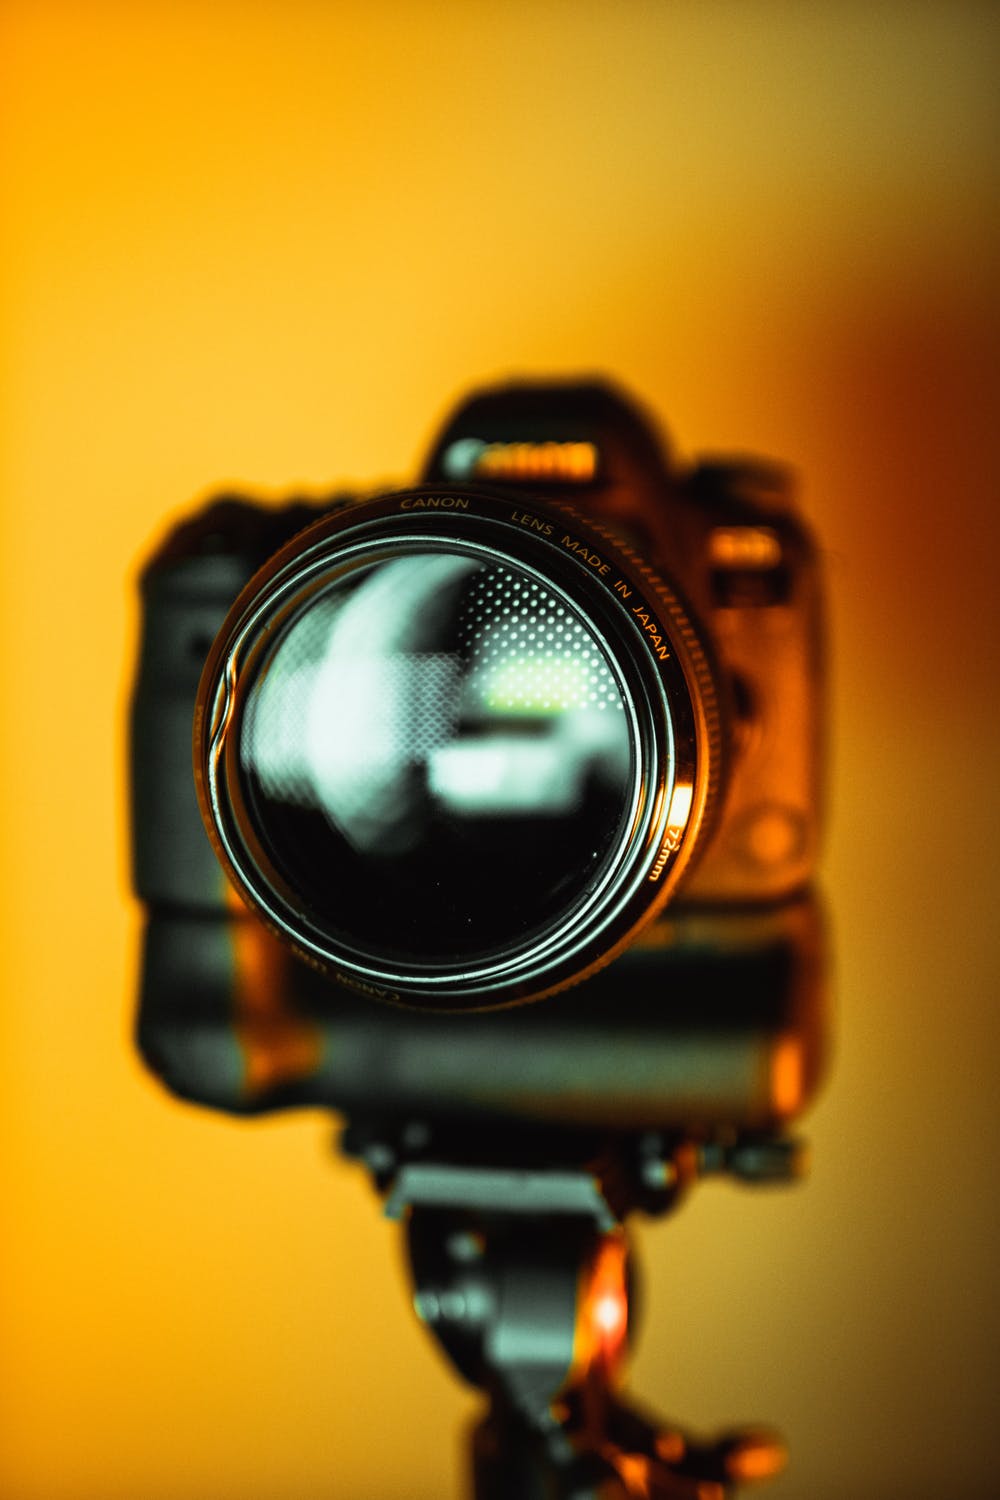
What does DSLR Mean?
Understanding the mechanics and technology that makes DSLR cameras function is extremely confusing at first, but once you get your head around a few of the basic terms, it quickly becomes easy.
What does DSLR mean then?
DSLR stands for digital single-lens reflex.
DSLR pairs together the mechanics used by SLR’s (single-lens reflex) and digital imaging sensor technology.
Prior to the invention of the DSLR, there was the SLR. The DSLR is a technology-based improvement on the early SLR camera. SLR cameras have been around for a number of years. However, the introduction of the digital camera virtually pushed them out of the market.
SLRs used film to expose and capture images. These images were then printed to produce physical copies of the photographs. The same mechanics apply to the DSLR. The only difference is that the image is processed using digital imaging sensors.
A DSLR uses a mirror mechanism that lets the light in and reflects it onto the viewfinder. The viewfinder is located at the back of a camera where the image is seen by the photographer. The image in the viewfinder is how the image will look once captured. You literally get what you see when you are using DSLRs to take pictures.
Alternatively, light enters completely through the image sensor inside the DSLR. The process of moving mirrors allows the image to be taken and processed by internal sensors.
How does a DSLR work?
(Source: Pexels)
A DLSR works the same way as an SLR. When snapping an image, you would first look through the viewfinder, eyepiece, or the LCD screen located at the back of the camera. At this point, you will be able to see the light (or lack of it depending on the time of day and weather) through the viewfinder. The image and any natural light then passes through the lens of your camera and reflects off on its reflex mirror.
Reflex mirrors aren’t a new invention and have been used with camera obscura since and beyond since the 1600’s. The reflex must sit at a 45-degree angle within the camera chamber. The reflex mirror forwards light vertically onto an optical element.
The optical element is referred to as the roof pentaprism. The roof pentaprism is a five-sided reflective prism that will consistently reflect light at a 90-degree angle. This is used to redirect the light through two separate mirrors within the camera, and into the viewfinder.
Once you’ve found your perfect shot, and have adjusted your camera settings, you’re now ready to shoot. When you take the picture, the reflex mirror shines the light into the viewfinder or LCD screen, and swings the light in an upward motion. This is why the LCD screen or viewfinder will appear black for a split second.
As the reflex mirror swings up the light, it then passes directly through your DSLR camera. The shutter that protects the image sensor is triggered to open. The sensor is then exposed to the light allowed through the now open reflex mirror.
The shutter will remain open for as long as needed in order to allow the image sensor to record the image. The image you first see through your viewfinder or LCD screen is exactly what the DSLR will capture. Once the image has been captured, the reflex mirror will return to its original 45-degree position. The light will again reappear on your LCD screen or optical viewfinder.
Your image sensor will now expose the image. The image sensor operates by detecting light waves that permeate the sensor. The sensor has the inbuilt technology to capture these waves and reproduce them onto an image. At this point, your image sensor will convert the waves into an image, and now your camera will save the image onto your SD card.
You’ll then be able to look at the image within a fraction of a second – and the image you’ll be left with will be the exact image you captured. Some of the most powerful DSLR cameras on the market right now can take bursts of shots at a staggering 11 images in less than a second.
A DSLR captures digital versions of images. These same images are processed using the basic principles employed by SLRs. While SLRs require images to be stored in rolls of films that need to be developed, a DSLR allows the easy transfer and printing of these images whenever and wherever.
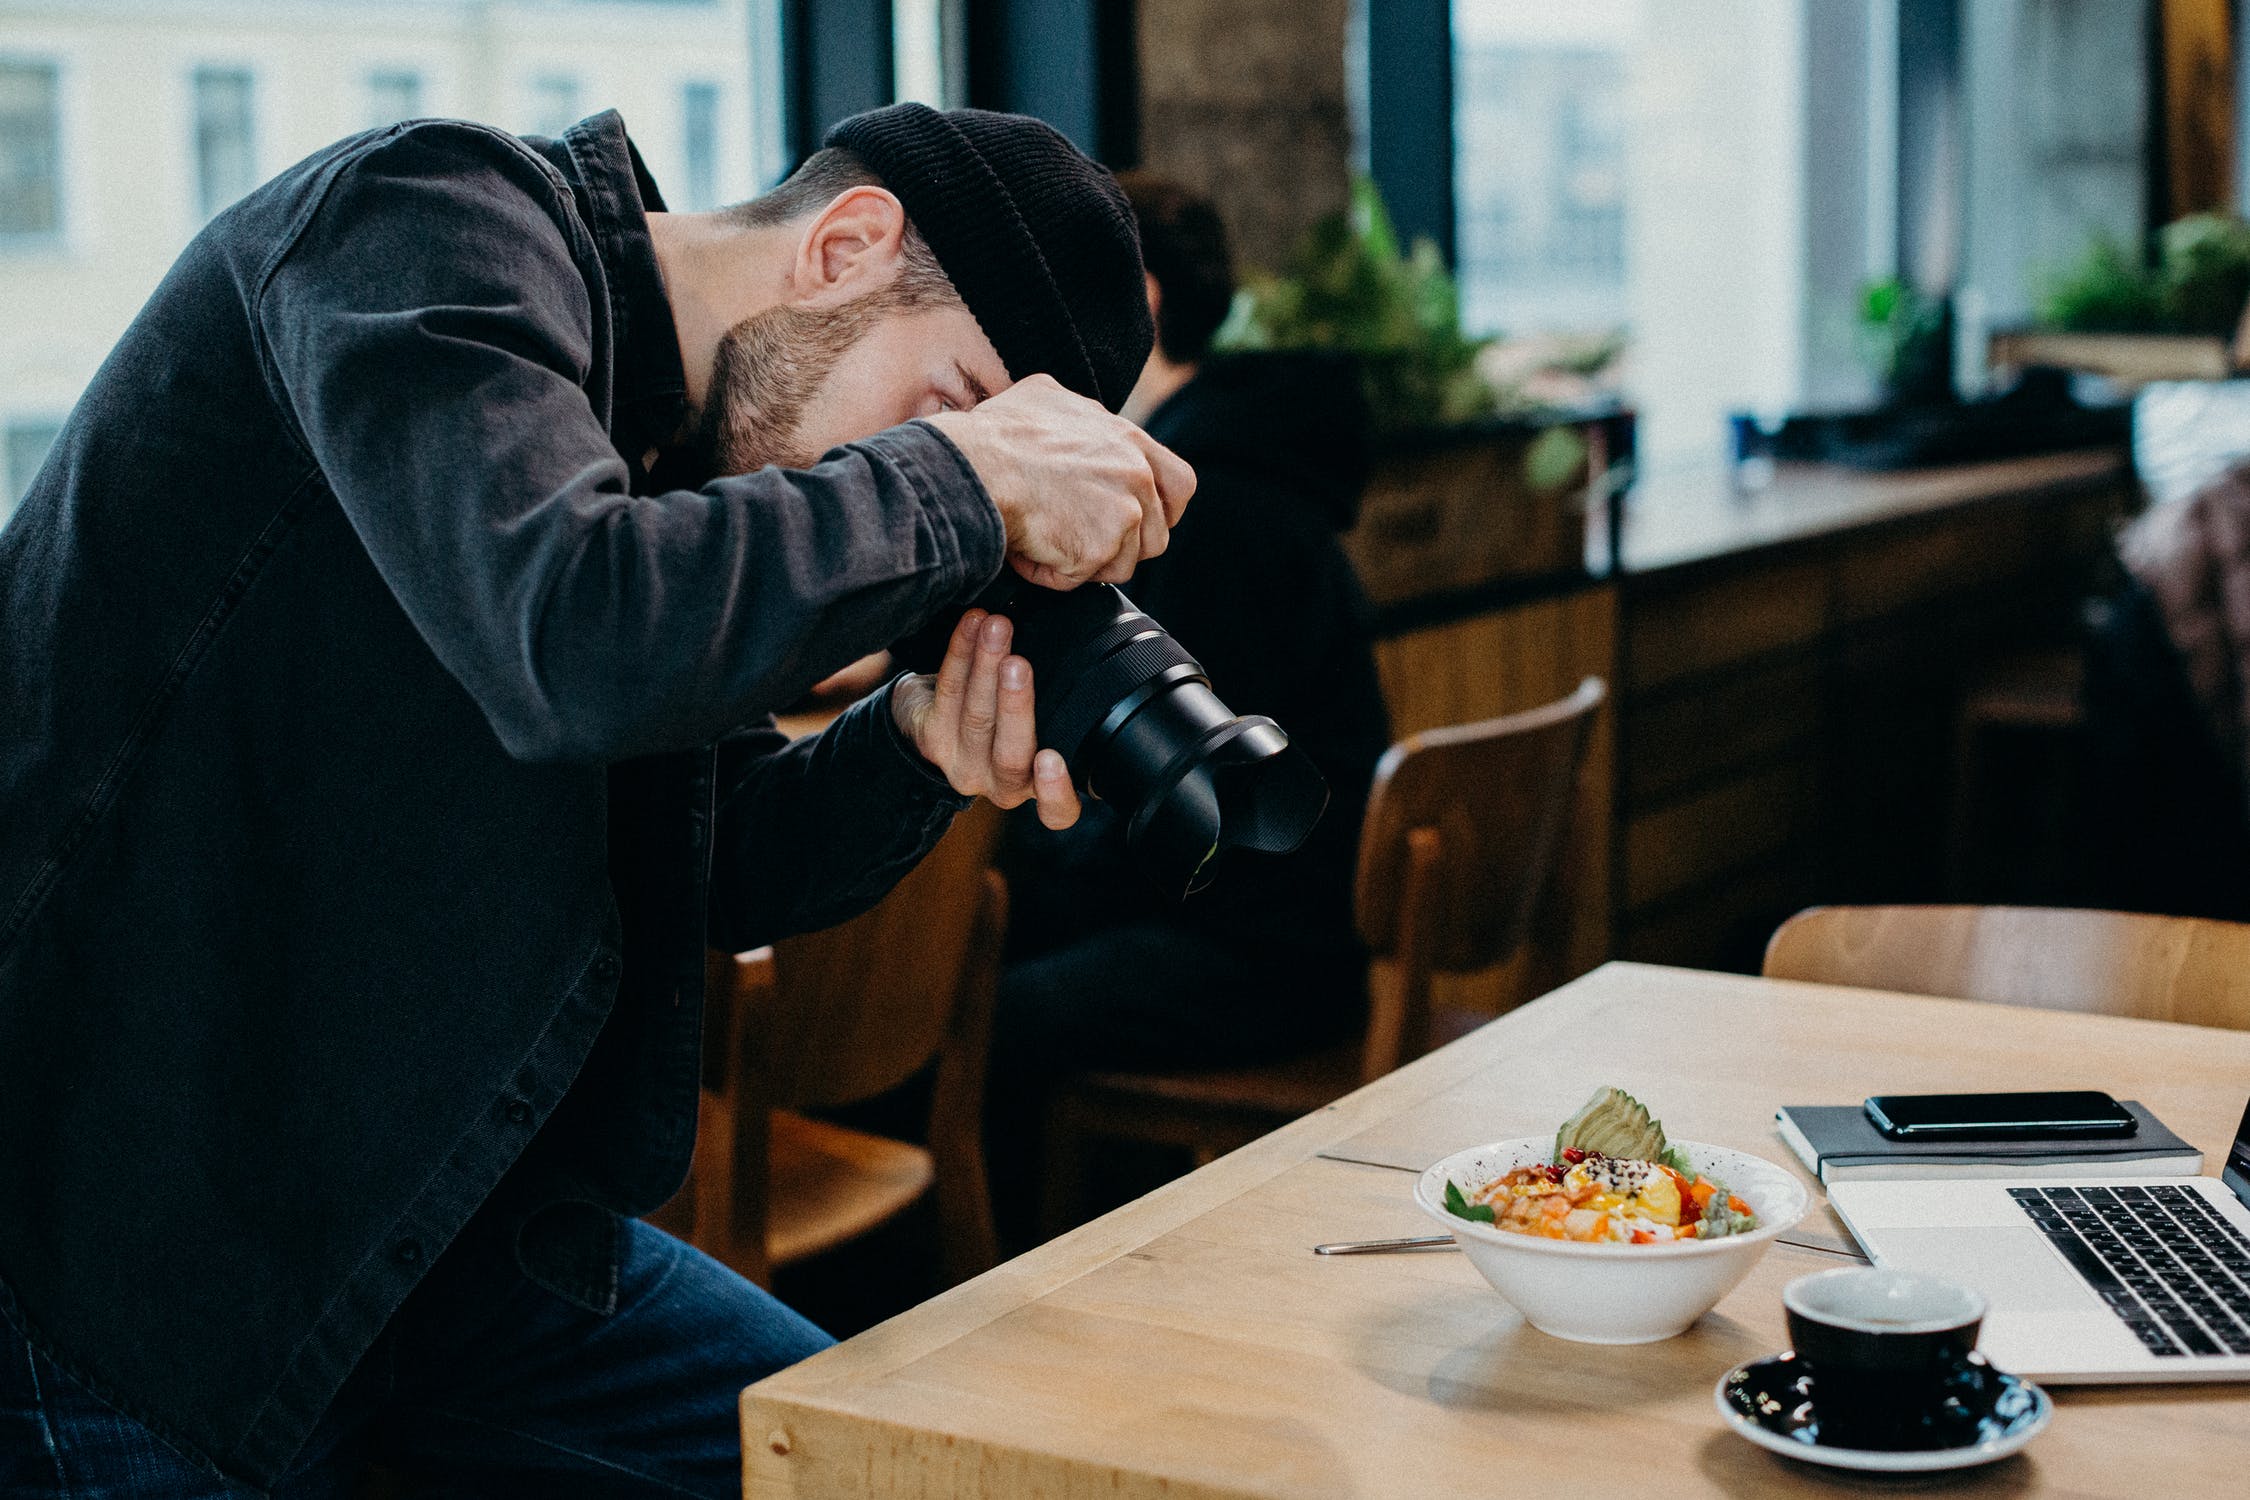
What else does a DSLR do?
(Source: Pexels)
Now that we’ve gone over the process and mechanics of capturing an image, what else can a DSLR camera do?
Most professional-quality DSLR cameras surprisingly offer fewer features than amateur models. The main benefit of shooting on a DSLR is that it can be operated almost entirely manually.
That means you can have total control over your image.
Truthfully, you only need half of the settings found in a DSLR. On the side of your DSLR camera (if you have one) you’ll see a mode dial or what is often referred to as a “PASM” dial.
Around this wheel you’ll find a range of settings that allow you to control the settings of your camera and ultimately determine how your shots will come out. These settings fall under terms such as automatic, manual, shutter and aperture priority. All of these functions allow different levels of control whilst you shoot.
The “scene modes” section also exists. Under the scene mode section of your settings dial, you’ll probably see an array of pictures that depict certain subjects or scenes such as landscapes, portraits, street, or macro. These settings make the process of learning photography pointless. Despite their availability, these functions must not be used especially if you are seriously committed to learning photography. These functions produce generic and boring shots. They also offer limited definitions on the ‘right way’ to shoot certain subjects, objects, or scapes. The truth is, there is no right way to shoot anything. You’ll do well to avoid these functions and trust to learn photography the hard but effective way – through trial and error.
Whilst we’re on the topic of DSLR camera settings to avoid, you’ll also want to give the fully auto section a miss. Using the automatic features of a camera will cause you to produce shots that won’t contain any character. They will also turn out looking nothing like your intended shot. Your shots could even be described as “ugly”.
The internal settings of your DSLR should be controlled by you, the photographer, and not by established presets that are dictated by technology. In order to gain full control of the mechanics of your camera, you’ll want to look for and use a certain set of settings found on your camera dial. These are P, S (tv) & A (av).
Controlling the mechanics of your camera and making the camera work for you
(Source: Pexels)
We will go over the P, S (tv) & A (av) settings in further detail in later articles. For now, it’s important to understand how these settings work in relation to the mechanics of your DSLR camera.
The P setting
This setting is ideal for those who are feeling inspired, are ready to shoot, and want to get away from the screen! P literally stands for practical auto. This option won’t give you full control over the reflex mirror, the exposure time, or focal length. It will however let you control some central parts of your DSLR camera.
The greatest benefit of shooting in this setting is not having flash fire with no warning. You’ll have control over the flash setting so it is best that you use it wisely! You will also have the added benefit of being able to change your ISO settings thereby allowing you to experiment with your creativity and the camera’s functionality.
The P setting is also a great way to familiarize yourself with your DSLR and learn-on-the-job. It encourages you to use your eyes – which is always a good thing – yet it also leaves enough room for experimenting.
The ISO
The ISO determines how light-sensitive your camera will be whilst you shoot. It’s the first setting that you should learn to use and play around with. Knowing the appropriate ISO to shoot will help you make the right decisions during the photography process. ISO settings are related to your shutter speed and aperture settings. Take note that the last two will be limited by the ISO range you will choose.
You can change your ISO settings from shot to shot so feel free to experiment with it. Try out different settings and don’t be afraid to display your creativity.
The S (tv)
The next setting we’ll address is the (tv) S setting on your dial. This setting refers to the shutter. The S (tv) determines how much light is allowed into your optical viewfinder. The correct S (tv) will ultimately impact how much light is going to hit your image processing sensor. What does this mean? It will play a massive role in how your images will come out!
Since light plays a huge role in photography, learning the S (tv) takes some time. Fortunately, it’s very easy to practice. You’ll be able to simply scroll on the dial to either increase or decrease the shutter speed.
The A (av)
The A or (av) setting controls how much light will enter your camera through the lens. Also known as the aperture setting, this function allows your lens to get small or wide.
Select A or (av) on your camera and you’ll be able to scroll and alter this setting in order to achieve varying effects in your photography.
All of these settings will be addressed in more detail in later articles. More in-depth information will be provided especially in how you achieve certain effects.
For now, get used to your camera and enjoy experimenting with its functionalities. Remember how your camera functions as this will also aid you in understanding what your settings are doing, and how they are changing the process of how your camera operates.